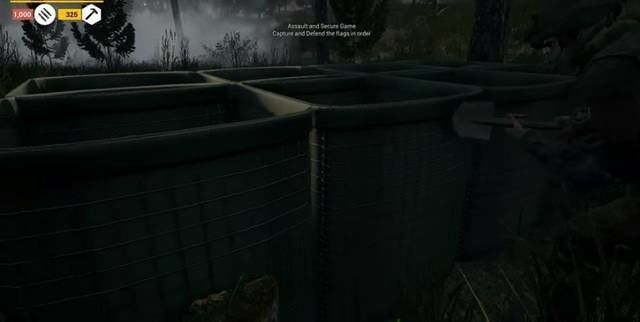
Use Your Ears First, Eyes Second
Each gun sounds different, and the echo will tell you more about where it came from than the explosion of dirt next to you. The main exception here is with tracer fire, which your squad leader will use to show where you should be firing. When you see green and red rounds going in any direction besides towards you, its a good bet you should be shooting at that location too, even if you can't see the enemy yet.
If those colored rounds are headed your way however, the origin point is the direction to be looking for an opposing squad, and it's a good bet there will be several enemies in that area for a target rich environment.
Don't get all trigger happy yet though -- until you feel comfortable in your ability to return fire without getting torn to shreds, the very first thing you should do as soon as you hear gunfire is to drop to the ground and stop making yourself a target.
Your vision goes blurry and accuracy decreases when being targeted by suppressing fire from the opposing side, so in this case it's better to get out of harm's way and try to maneuver to a better position than to blindly fire. Remember that friendly fire is always on, so unless your squad leader has specifically told you where to fire, be sure of your target before you pull that trigger.
Know Your Role/Squad Combat Basics
You will be tempted to take the rocket launcher or marksman roles right off the bat. Don't. You won't live long enough to make use of those shiny toys, and your teammates need a medic much more than they need someone who will ineffectually destroy a patch of field 30 yards away from the enemy position anyway. It's better to learn the ropes in the rifleman and medic roles, and then work your way up after you've figured out how to survive more than a few minutes at a time.
You can choose your equipment kit from the “Roles” option in the map respawn menu screen, with more types of kits available as more players joint the server. If a specific role is still available, you can also change your role on the fly at ammo crates instead of waiting until you die and respawn.
The first thing to keep in mind during combat, even before aiming and firing, is your stamina. If it's depleted from running, your accuracy will go down and you won't be able to jump – which can be deadly if there's a tiny stone wall between you and the cover of a building. Staying crouched will reduce your chances of getting torn to pieces by gunfire, but don't forget that walking while crouching does not recover stamina! You need to be standing or prone to recover.
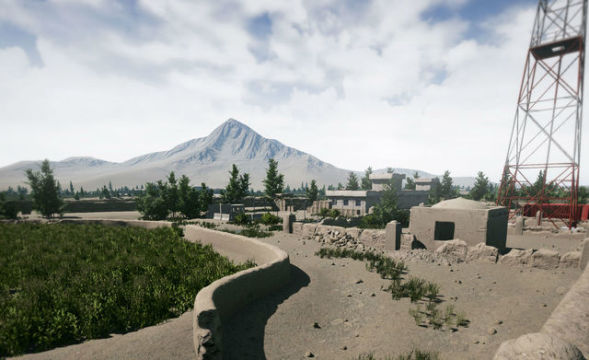 Tiny walls are big killers here...
When actually in a firefight, keep track of your ammo and always take into account reload times, which are best learned on the training server and not during an Advance And Secure mission. Reload times are much longer here than in your typical FPS, and those few seconds are all it takes for some insurgents to gun you down.
There's not a ton of ammo lying around like in your typical shooter, so be sure to resupply when you can at the ammo crates. There's always one at the Base Control Point (the first spawn point on a map that the enemy can't take control of), and if your squad leader is on top of things, they'll also be available at Forward Operating Bases.
No matter how quick you are, eventually you are going to get hit, and most wounds cause bleeding, which darkens the screen and causes constant health loss. Eventually you'll die from wound bleeding, so to stay in the fight a little longer you can apply a field dressing to yourself even if you aren't the medic. This won't revive you (or anyone else) while incapacitated, but it will stop you from bleeding out before getting shot again. Pull up the field dressing option by cycling through your equipment with the mouse's scroll wheel.